ARE YOU STORM READY?
$2500 OFF Generators & $100 OFF Surge ProtectorsLandscape Uplighting: Everything You Need to Know


TL;DR
Landscape uplighting places light sources below your home’s best features to create depth, curb appeal, and security. The right design starts with knowing your fixtures, your property, and your goals.
Explore this article with AI
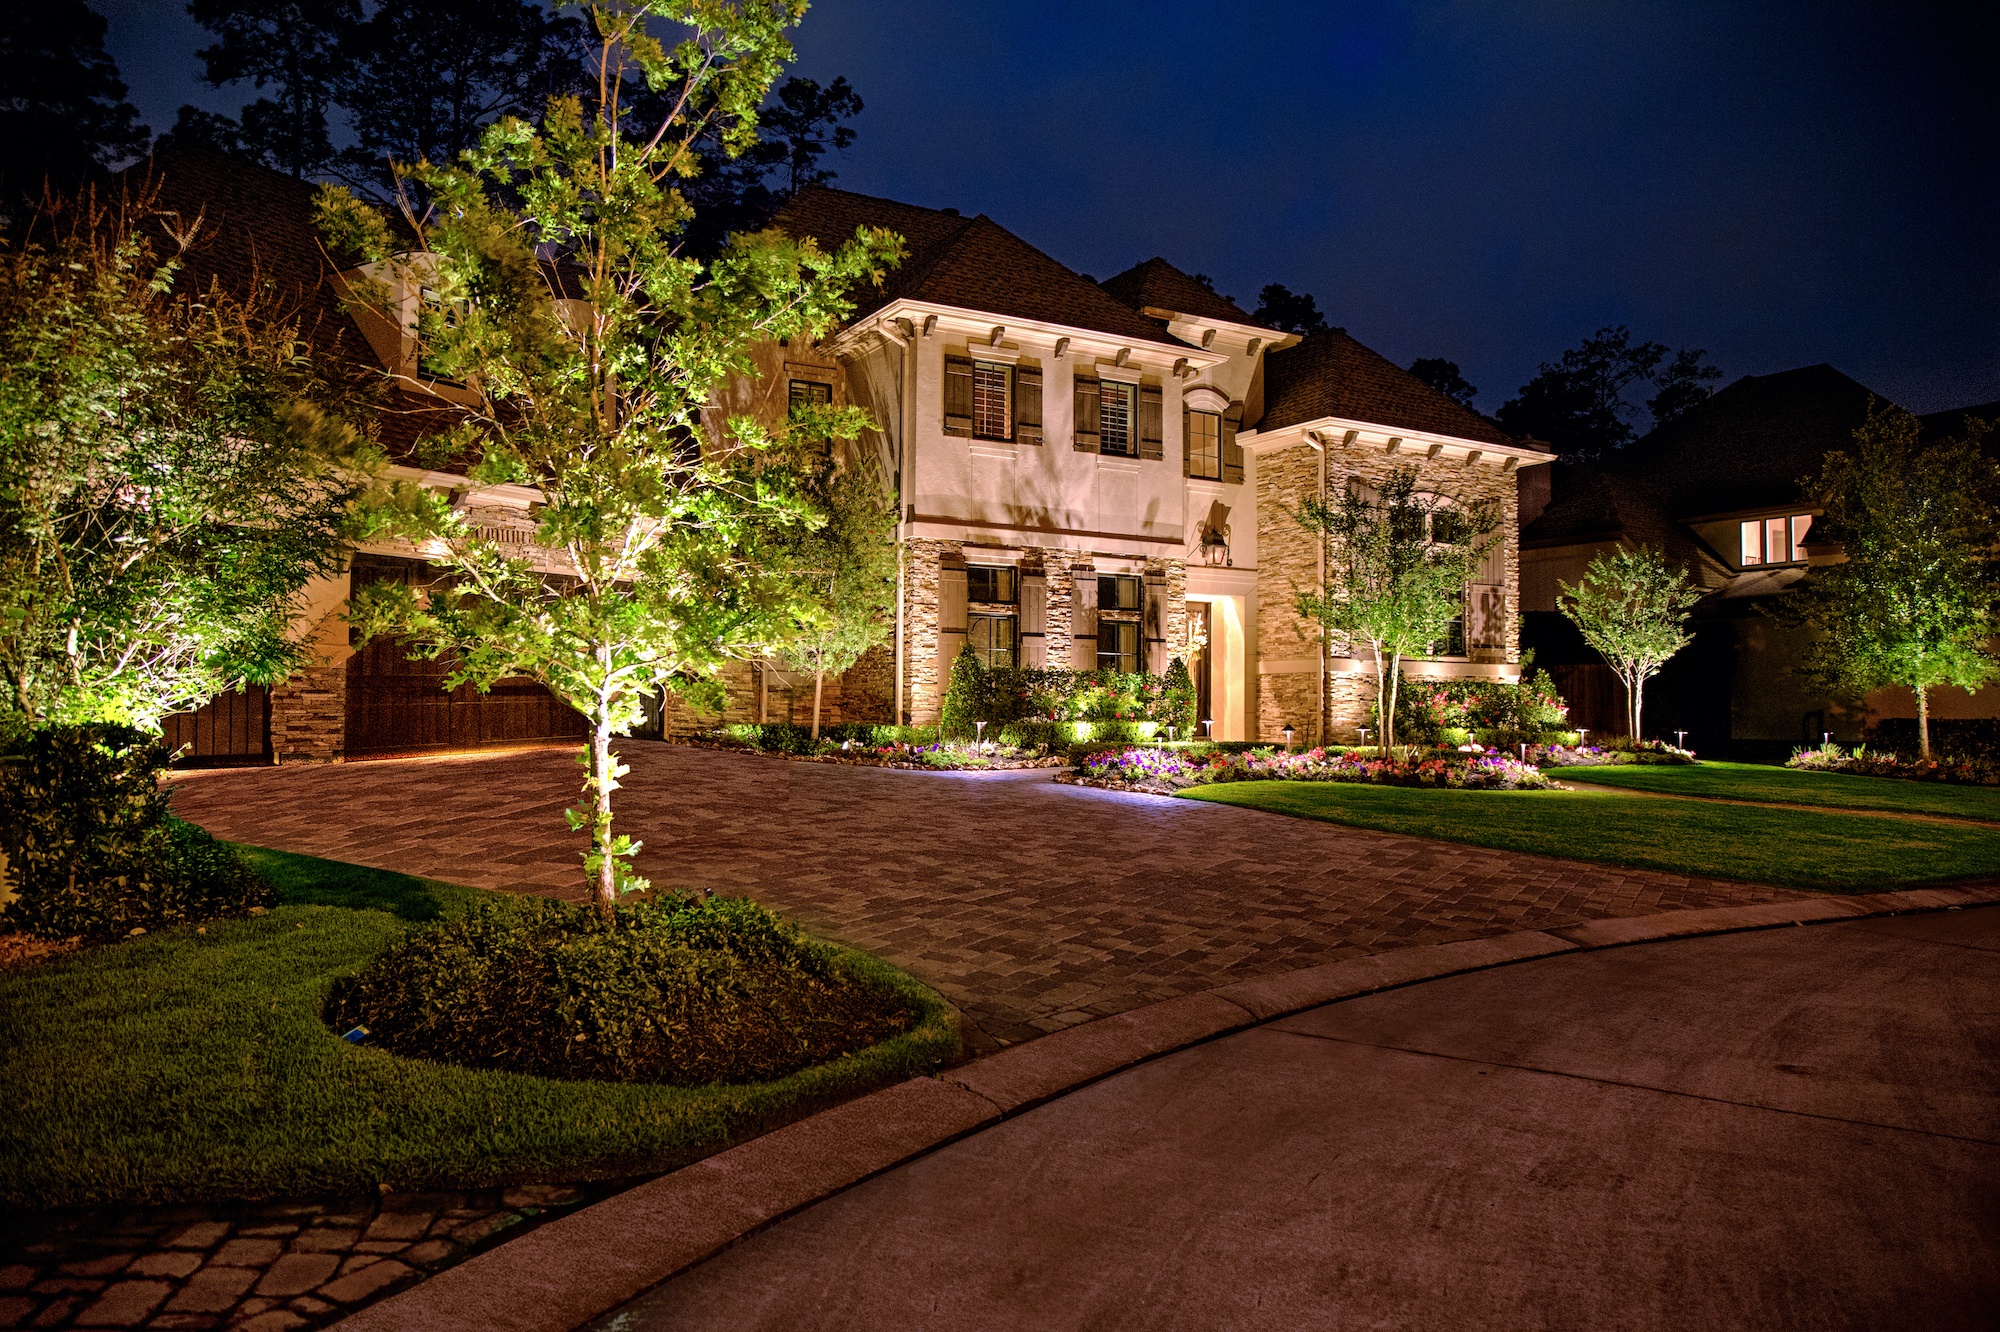
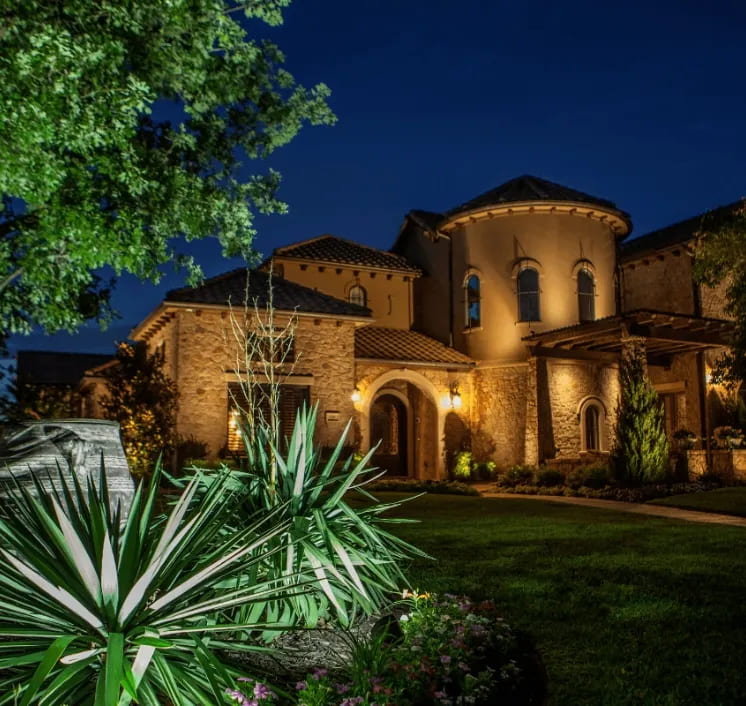
What uplighting actually does for your home
Uplighting isn’t just decorative. It changes how your home reads from the street after dark, adding depth and dimension that flat daytime photos can’t capture. Over 70% of modern homes incorporate some form of uplighting, and it’s not hard to see why.
The benefits are practical as much as visual. Curb appeal is the obvious one: highlighting trees, architectural features, and garden beds creates a welcoming presence that makes your property stand out after dark. Security is the less obvious benefit. A lit perimeter deters intruders and improves visibility around entry points. And outdoor living is the one homeowners often don’t think about until they have it. Uplighting extends the usable hours of your patio, deck, or garden well into the evening. It’s not just about how your home looks. It’s about how long you actually enjoy it.
The six types of uplighting fixtures
Choosing the right fixture is where most landscape lighting plans get complicated. Or where they get simplified with the right guidance. Here’s what each type does and where it belongs:
- Spotlights focus a tight beam on a specific focal point: a specimen tree, a stone column, an architectural detail. They draw the eye exactly where you want it.
- Floodlights cast a broader beam for larger surfaces: walls, facades, or expansive garden beds that need even coverage without hot spots.
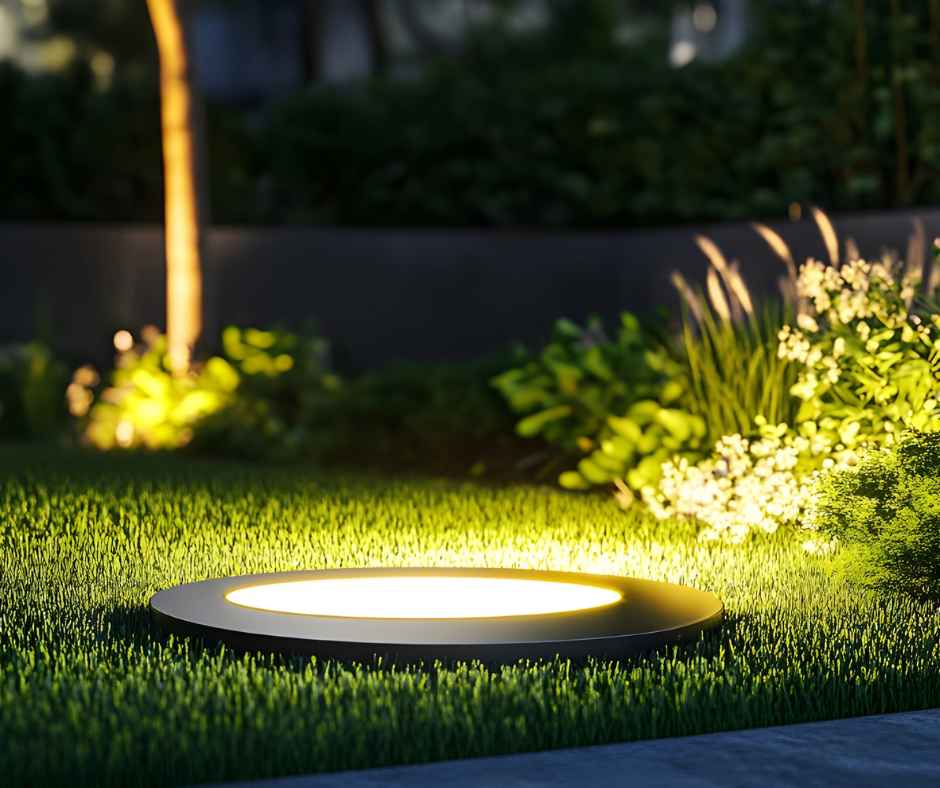
- Well lights sit flush with the ground and uplight trees, shrubs, or low structures from directly below, creating a subtle, sophisticated glow with minimal fixture visibility.
- Path lights illuminate walkways and garden borders. They’re as much about safety and navigation as they are about ambiance.
- Silhouetting lights go behind an object to project its outline against a wall or surface, adding real depth and drama to a flat facade.
- Moonlighting is the fixture choice that tends to stop people in their tracks. Fixtures mount high in mature trees and aim downward, mimicking the soft, dappled quality of natural moonlight. The effect is completely different from ground-level uplighting: less theatrical, more atmospheric. It makes outdoor spaces feel inhabited after dark rather than staged.
“Moonlighting is one of the most impactful ways to enhance both the beauty and security of a property. Once clients see their home illuminated this way, they frequently ask for additional fixtures and expanded coverage — it’s one of the most requested upgrades after installation because of the dramatic difference it makes in both appearance and enjoyment of the space.”
— Ethan Archer, Regional Manager, The Perfect Light
How to plan your uplighting design
Planning starts with your goals, because they determine everything else. About 80% of the homeowners we work with come to us motivated primarily by how their home looks after dark. The other 20% come because of security concerns. The fixture mix, placement strategy, and lighting zones are different for each.
From there, the design accounts for the size and growth pattern of existing trees and plants. A well light that’s perfectly placed today can be overtaken by root growth within a few years. It also accounts for light pollution, so neighboring properties aren’t affected, and energy efficiency. LED fixtures are the professional standard now: they last longer, hold their color temperature better, and cost less to run than older halogen options.
A well-planned design establishes lighting zones: focal points, pathways, and perimeter areas that work together rather than compete for attention. The homes that look best and feel best to walk up to are usually the ones where restraint was applied. Not more fixtures, but the right fixtures in the right places.
What to expect during installation
Installation follows your lighting plan step by step. The crew preps the area first: clearing debris and trimming vegetation so fixtures go in clean. They’re then placed per the design, with careful attention to height, angle, and distance from each object being lit.
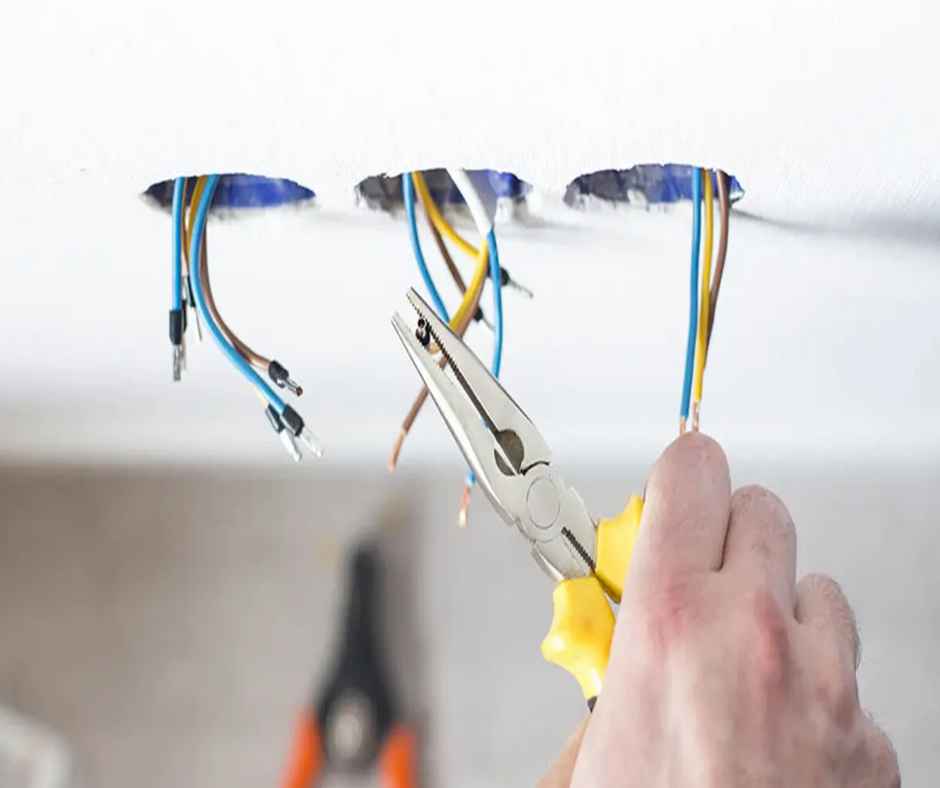
Wiring runs underground using weatherproof materials, buried at appropriate depths, with junction boxes and transformers protecting the electrical components. Everything is built to handle Texas weather long-term, not just pass a first-season check.
After installation, the system is tested and tuned. Fixture positioning and wiring connections are adjusted until the output matches what was designed. For complex installations with multiple lighting zones, this calibration phase is where the design really shows itself. It’s also where the difference between a professional install and a DIY one becomes clear.
Keeping your system looking its best
A well-installed landscape lighting system is low-maintenance, but it’s not zero-maintenance. Cleaning fixtures regularly (removing dirt, debris, and buildup) keeps output bright and consistent. Checking for damaged wiring or failed bulbs and replacing them promptly prevents small issues from compounding.
As your landscape grows, fixture adjustments matter. Trees and shrubs that were perfectly framed at installation may overgrow a well light within a couple of seasons. An annual walkthrough keeps the design performing as intended.
The most common problems we see in systems that weren’t professionally installed: overlighting that washes out focal points instead of defining them, dark spots that create uneven and sometimes unsafe conditions, mismatched fixtures that look like they were installed in phases, and wiring shortcuts that become safety hazards over time. Most of these trace back to one root cause: skipping a proper design consultation before the first fixture goes in the ground.
Ready to see what your home looks like after dark, done right? Our in-house team will walk your property, identify what’s worth highlighting, and put together a design plan before anything is installed.
Frequently asked questions
What’s the difference between uplighting and moonlighting?
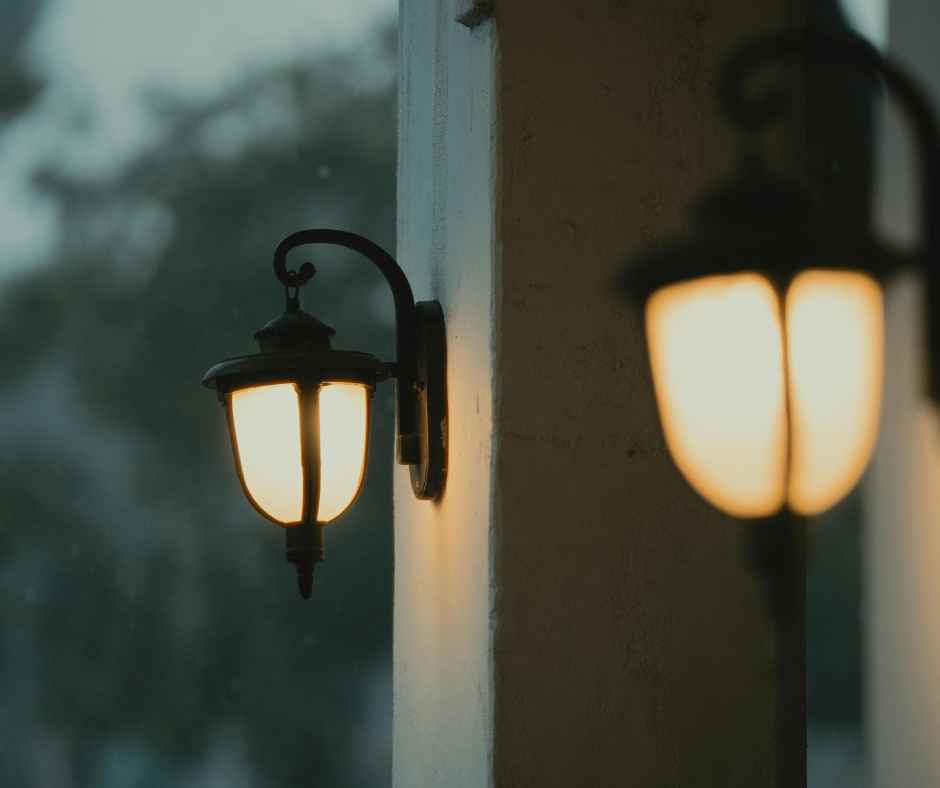
Uplighting places fixtures at or near ground level and aims light upward to define trees, walls, and architectural features. Moonlighting does the opposite: fixtures mount high in mature trees and cast light downward, mimicking the soft, dappled quality of natural moonlight. The effects are distinct. Uplighting is dramatic and defining; moonlighting is atmospheric and subtle. Most well-designed systems use both.
How much does landscape uplighting cost in Texas?
A professional landscape lighting installation from The Perfect Light typically runs $4,000 to $6,000 for a complete residential system. Fixture count, property size, and design complexity all affect the final number. Our $2,000 minimum reflects the professional scope of a properly designed and installed system, not a few stakes pushed into the mulch.
How long does a landscape uplighting installation take?
Most residential installations are completed in one day. Properties with extensive hardscape, large tree canopies, or multiple lighting zones may take two. A design consultation before install keeps the timeline predictable and the surprises off the schedule.
Can uplighting be added to an existing landscape?
Yes. New fixtures can be integrated into an established landscape without major disruption to existing plantings or hardscape. The key is working with a team that knows how to route wiring cleanly and position fixtures around mature root systems, both of which require real experience to get right.
How often does a landscape lighting system need maintenance?
An annual walkthrough is sufficient for most systems. At minimum, fixture cleaning, bulb checks, and a calibration pass after heavy storms will keep the system performing as designed. Many homeowners add maintenance to a service agreement so it happens automatically without having to schedule it separately.

Light up your nights