ARE YOU STORM READY?
$2500 OFF Generators & $100 OFF Surge Protectors

Why Professional Outdoor Lighting Installation Is Worth It



TL;DR
The difference between professional landscape lighting and a DIY kit is visible after a few Texas summers, not on day one. Material grade, IP ratings matched to the site, installation depth, and deliberate design are the variables that determine whether a system looks great in year 10 or needs to be replaced in year four.
After a Texas summer, you can usually tell which landscape lighting was installed by a professional and which came out of a box. The fixtures that are still aimed correctly, still sealed, still performing the way they did on day one, those are the professional installations. The ones with cracked housing, shifted stakes, and dead sections, those usually are not.
The price gap between a professional installation and a quality DIY kit is real. But it does not show up where most people expect it to. On day one, the two can look similar in photos. The difference shows up after a few seasons of heat, humidity, UV exposure, and storm cycles, and by then the decision has already been made.
The Difference Becomes Clear After a Few Seasons
Good landscape lighting is not complicated in concept. Fixtures go in the ground, wire connects them to a transformer, and a timer or smart control handles the schedule. The hardware store version of that setup is available for a few hundred dollars. A professional installation starts at $2,000 and typically runs $4,000 to $6,000 for a full residential scope.
What accounts for the difference? It is not the basic components. It is what the components are made of, how they are rated, where they are installed, and whether the overall design produces the result the homeowner wanted.
The performance gap shows up in two ways over time. First, lower-grade fixtures begin failing. Plastic housing cracks under UV exposure. Rubber seals dry out and allow moisture into the electronics. LED drivers running hot in Texas summer temperatures degrade faster than their rated specifications. Fixtures that looked comparable to higher-grade alternatives at the point of purchase no longer function correctly a few years in. Second, installation decisions start to show their effects. Wire buried four inches deep becomes exposed by lawn maintenance, irrigation adjustments, and erosion. A transformer mounted in direct afternoon sun runs hot and fails earlier than a unit placed in a shaded or conditioned space. Fixtures staked too shallowly shift with foot traffic and soil movement, changing aim and coverage over time.
None of this is visible on day one. All of it is visible after a few seasons.
Material Grade Is Where the Price Difference Lives
The single most impactful variable in landscape lighting longevity is fixture material, and it is also the one most difficult to evaluate from a spec sheet or product photo.
Professional landscape lighting installations use fixtures manufactured in brass, copper, or stainless steel. These materials handle sustained humidity, UV exposure, and temperature cycling in ways that plastic composites and standard aluminum do not. Brass in particular has decades of field history in Gulf Coast and coastal installations and consistently outperforms alternatives in those conditions. The fixture finish may change over time, developing a natural patina on exposed hardware. The structural integrity and seal performance do not change.
Consumer and mid-range fixtures typically use zinc composites and standard aluminum, which are adequate in mild climates with moderate sun exposure. In Texas, where a fixture can spend seven months a year in sustained humidity above 60 percent and several months with heat indexes regularly above 100 degrees Fahrenheit, the material grade difference plays out faster than in most markets. Plastic housing becomes brittle under sustained UV. Connections corrode under sustained humidity. Seal integrity fails earlier than stated ratings suggest.
The other material variable is the LED driver, the component inside the fixture that converts household current to the correct voltage for the LED module. Quality drivers have thermal management built into the design to handle ambient temperatures above the standard rating. Budget drivers do not. A driver running consistently hot in a Texas summer has a shorter service life than the same unit in a cooler climate.
Professional-grade fixtures also use UV-stabilized materials throughout. Housing, lenses, and seals that maintain their properties under sustained UV exposure retain seal integrity for years longer than alternatives. The difference is visible in the field.
IP Ratings and Why the Specification Matters for Your Site
IP stands for Ingress Protection. It is the international standard (IEC 60529) for how well a fixture resists moisture and solid particles. For landscape lighting, the moisture rating is the number that determines whether a fixture is specified correctly for its location.
The two digits in an IP rating cover different types of protection. The first covers solids and dust. The second covers moisture, on a scale from no protection to protection against prolonged submersion. For outdoor lighting in Texas, the second digit is the one that matters.
IP65 is the appropriate specification for most above-grade landscape lighting fixtures: wall-mounted spotlights, stake-mounted uplights, path lights, and most architectural fixtures. IP65 covers heavy rain, irrigation overspray, and normal ambient humidity exposure.
IP67 is for fixtures installed near grade in areas that regularly pool or flood. IP67 fixtures handle temporary submersion up to one meter for 30 minutes, which covers most residential flooding scenarios. Low spots in the yard, areas near downspout discharge zones, and properties with drainage patterns that produce regular standing water warrant IP67 rather than IP65 for fixtures in those locations.
The decision about which rating to use where is an installation decision, made site by site. A professional installer walks the property, identifies the drainage patterns and low points, and specifies fixtures accordingly. A homeowner installing a kit typically applies one specification uniformly across the property. In most locations that works. In the locations where it does not, it shows up as failed fixtures after the first significant rain event.
Installation Quality Is Half the System
Every experienced landscape lighting installer gets called at some point to assess a DIY installation that looks fine from the street but has real problems at the installation level. Wire buried too shallow. A transformer mounted in direct sun. Fixture stakes driven at inconsistent angles. Connections made without proper weatherproofing. None of these problems are visible in a photo. All of them affect performance and longevity.
The key installation decisions are wire burial depth, transformer placement, fixture anchoring, and connection integrity.
Wire burial depth for low-voltage landscape lighting wire is a minimum of six inches in most applications. In areas with loose soil, significant drainage flow, or regular lawn maintenance equipment, eight to twelve inches is more appropriate. Shallowly buried wire gets exposed over time through erosion, mower passes, and soil movement.
Transformer placement affects performance in ways that are easy to overlook at installation. A transformer mounted on a south-facing exterior wall in direct afternoon sun runs consistently hotter than one in a shaded location or inside a conditioned space like a garage. Heat is the primary factor in driver degradation over time.
Fixture anchoring affects aim stability over time. Stake-mounted uplights that are not driven to full depth at the designed angle shift with foot traffic, soil movement, and freeze-thaw cycles. A fixture that aimed at the intended target on installation day may be pointing at the sky or into a mulch bed a year later. Proper installations drive fixtures to full depth at the designed angle and verify aim before the crew leaves the property.
The Design Variable Most Homeowners Don’t Account For
The final significant difference between professional installation and a DIY kit is design, and it is the one most difficult to quantify before the work is done.
Even illumination across an exterior surface is harder to achieve than it looks. Too few fixtures produce visible dark zones. Too many create hot spots that flatten the depth and dimensionality of the subject. The wrong fixture for a given application, an uplight with too wide a beam spread for a narrow column for instance, washes out the feature it is intended to highlight rather than defining it.
Professional landscape lighting design accounts for fixture type, beam spread, mounting height, aiming angle, and the relationship between fixtures across a zone. It also accounts for how the space changes over time. A tree that is a slim specimen at installation will have a different canopy mass in five years. A well-designed system places fixtures to account for where the tree will be, not just where it is today.
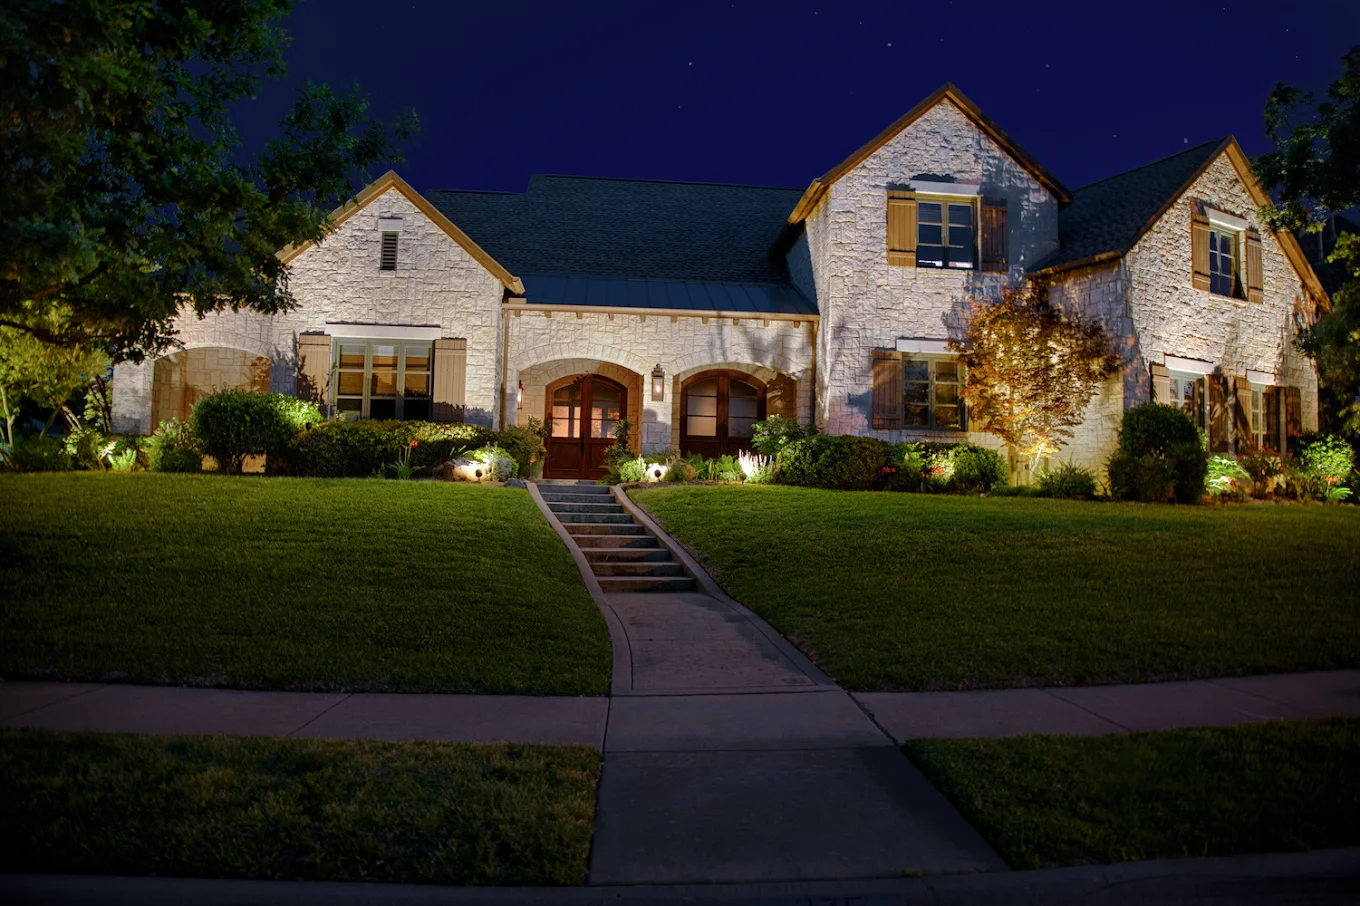
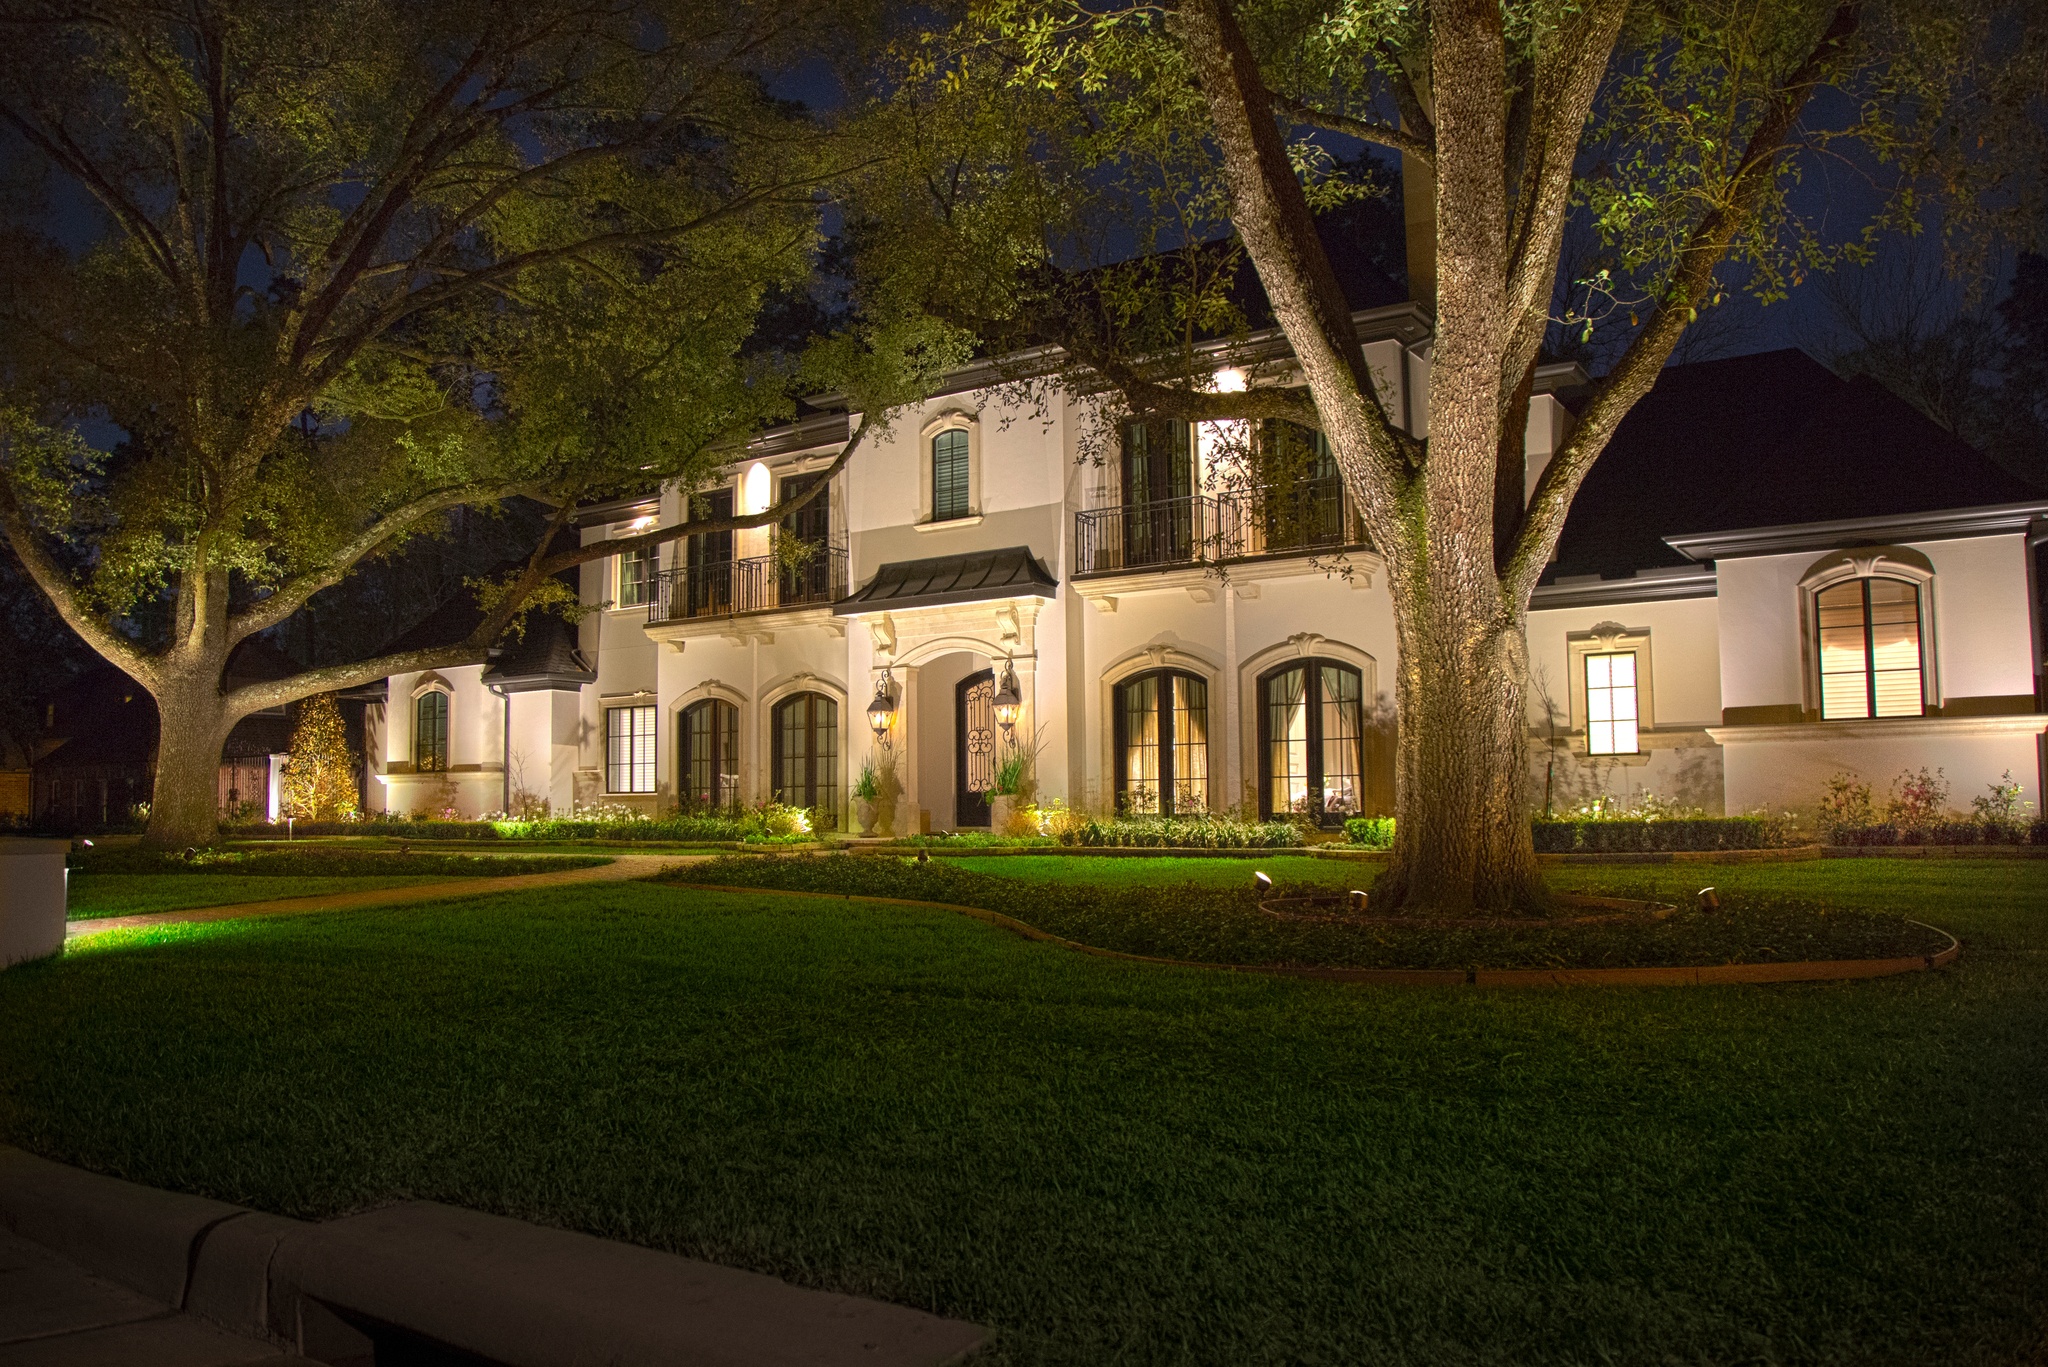
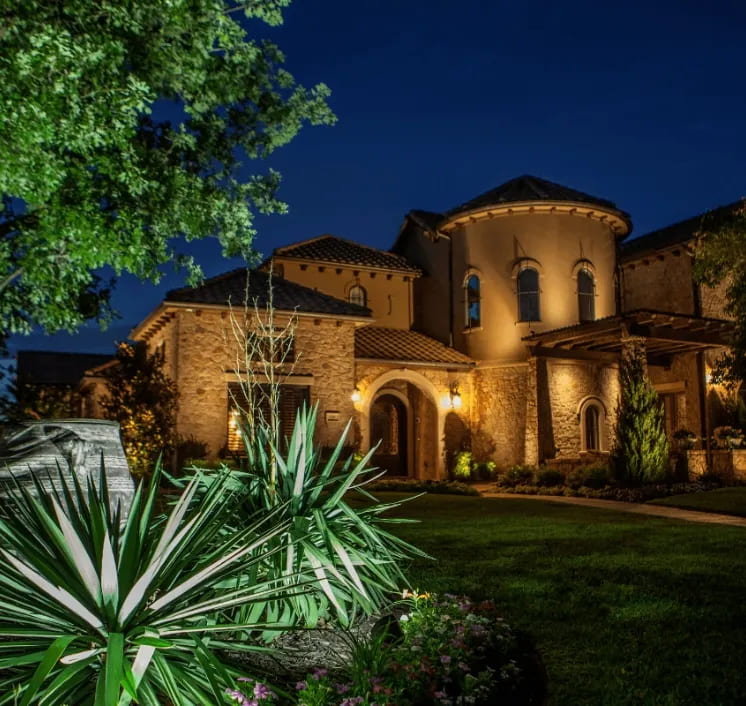
The result of a well-designed system is not just more fixtures. It is the right fixtures, in the right locations, aimed deliberately, with the long-term landscape in mind. The difference between a professionally designed installation and an assembled kit is visible to any observer at night. It looks intentional.
What 25 Years of Texas Installations Teaches You
A 25-year installation history in Texas produces knowledge that no specification sheet covers. The Perfect Light’s team has seen what holds up across Houston’s heat, humidity, UV exposure, and storm seasons, and what does not.
A few patterns that show up consistently:
- Brass and copper outlast every alternative in this climate by a significant margin. In many cases, an older brass installation needs a design refresh only because the landscape around it has matured and changed, not because the hardware has failed.
- Transformer placement decisions compound over time. A transformer in a sub-optimal location does not fail noticeably in year one. After several years of running at elevated temperature, the difference in service life is visible.
- More fixtures at lower wattage consistently produce better results than fewer fixtures at higher wattage. The goal is even illumination across the exterior. That takes more, deliberately placed, lower-wattage fixtures rather than fewer powerful ones.
The first design consultation is where the long-term result is determined. Fixture selection, IP specification for each location, wire routing, and transformer placement are all decided before any product goes in the ground.
For more on how Houston’s specific climate shapes these decisions, see What 25 Years in Houston Teaches You About Gulf Coast Weather and Outdoor Lighting.
The first design consultation is where fixture selection, IP specification, and transformer placement all get decided, before anything goes in the ground.
Frequently asked questions
What is the difference between professional landscape lighting and a DIY kit?
Professional landscape lighting uses commercial-grade fixtures specified for the site conditions, with wire burial and installation practices designed for longevity. DIY kits use consumer-grade materials with uniform specifications applied across the property. The design in a professional installation is deliberate, accounting for fixture type, beam spread, IP rating by location, and aim. The difference is minimal on day one and significant after several seasons of Texas heat, UV exposure, and humidity.
How long does professional landscape lighting last?
With quality materials and professional installation, a landscape lighting system in Texas is built to hold up for many years before any meaningful hardware needs replacement. Lower-grade fixtures installed without attention to site-specific conditions tend to need significant repair or replacement much sooner in Texas conditions.
What IP rating do I need for my property?
IP65 is the appropriate minimum for most above-grade landscape lighting fixtures, covering wall-mounted spotlights, stake-mounted uplights, and path lights. Fixtures installed near grade in areas that regularly pool or flood need IP67, which handles temporary submersion up to one meter for 30 minutes. The right specification depends on the drainage patterns of your specific property.
What materials hold up best in Texas heat and humidity?
Brass and copper consistently outperform zinc composite and standard aluminum in Texas conditions. These materials handle sustained humidity, UV exposure, and temperature cycling better than alternatives and have decades of field history in Gulf Coast installations to support that.
Is the higher upfront cost of professional landscape lighting worth it?
Looked at over the long term, the cost comparison between professional installation and cumulative DIY replacement and repair is closer than the day-one price difference suggests. Quality brass fixtures installed properly in Texas conditions are built to perform for many years. Consumer-grade fixtures in the same conditions tend to need meaningful repair or replacement much sooner. If you’re weighing seasonal versus a permanent, always-on system, Permanent Outdoor Lighting in Texas walks through that decision in more detail.
Does the design really matter that much?
Yes. Even illumination across an exterior surface requires deliberate fixture selection, placement, beam spread, and aiming. A professional design accounts for these variables and for how the landscape changes over time. The visual difference between a designed installation and an assembled kit is clear at night, on any property.

Light up your nights