ARE YOU STORM READY?
$2500 OFF Generators & $100 OFF Surge ProtectorsHow to Design Exterior Lighting


TL;DR
Good exterior lighting design starts with a clear goal, identifies the right focal points, matches each location to the right technique, and ends with a professional installation that holds up year-round.
What to figure out before you design anything
Before fixture types or placement come up, there’s a more basic question: what do you want the light to do? Security and beautification look different on paper and on your property. Security lighting needs open sightlines, ample brightness, and coverage of entry points. Aesthetic lighting works with shadows, layers multiple zones, and pulls attention toward specific features.
Most homeowners want both, but one usually leads. Knowing which one shapes every decision that follows: the fixtures you choose, the techniques that work, and where the budget goes. A quick sketch of your property helps here. Mark the areas that feel dark or unsafe, and separately mark the features worth highlighting. Those two lists become your design brief.
You’ll also want to know your power source early. The two standard exterior lighting systems are 120V (line voltage, used for high-output fixtures like floodlights) and 12V (low voltage, the standard for most residential landscape lighting). Your installer will help you choose, but understanding the difference before that conversation saves time.
Where exterior lights make the biggest difference
Some locations are obvious; others get overlooked until there’s a problem. Here’s where to prioritize:
- Driveways need enough illumination to navigate safely and signal that the property is occupied. Pathway lights or bollards along the edge work well here.
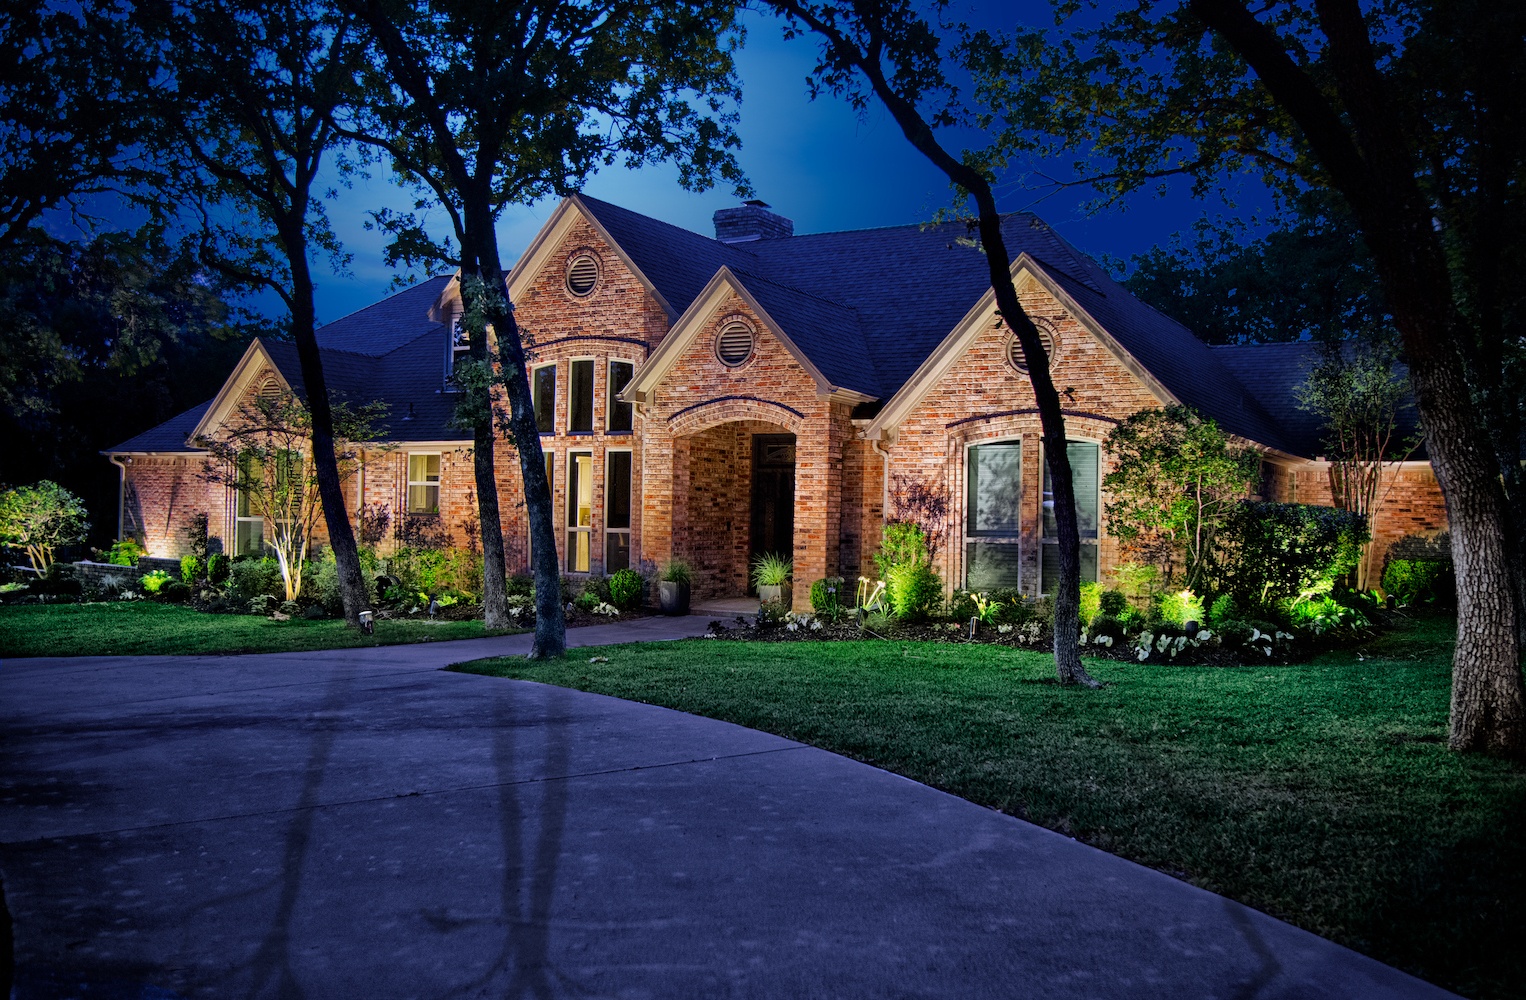
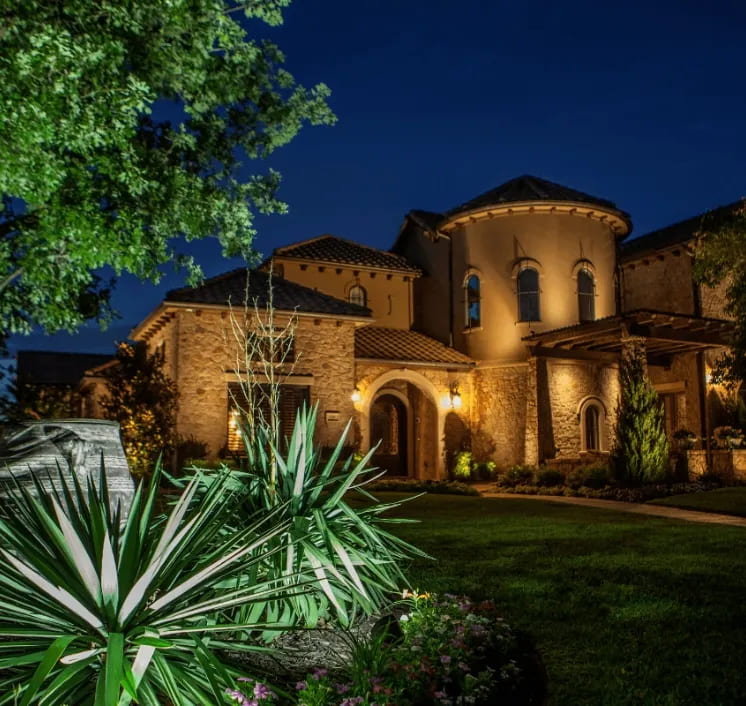
- Front yards and verandas set the first impression. Wall bracket fixtures and uplighting on trees or columns create a welcoming look without washing out the facade.
- Backyards are typically larger and benefit from layered lighting: floodlights for general coverage, well lights for garden beds, and accent fixtures for focal points like pergolas or arbors.
- Garages are a security gap in many homes. Accent lighting and spotlights near the garage door and entry points cover both safety and aesthetics.
- Pool areas get their own category. Waterproof underwater fixtures and pool-surface lighting create a reflection effect that changes the feel of the backyard entirely after dark.
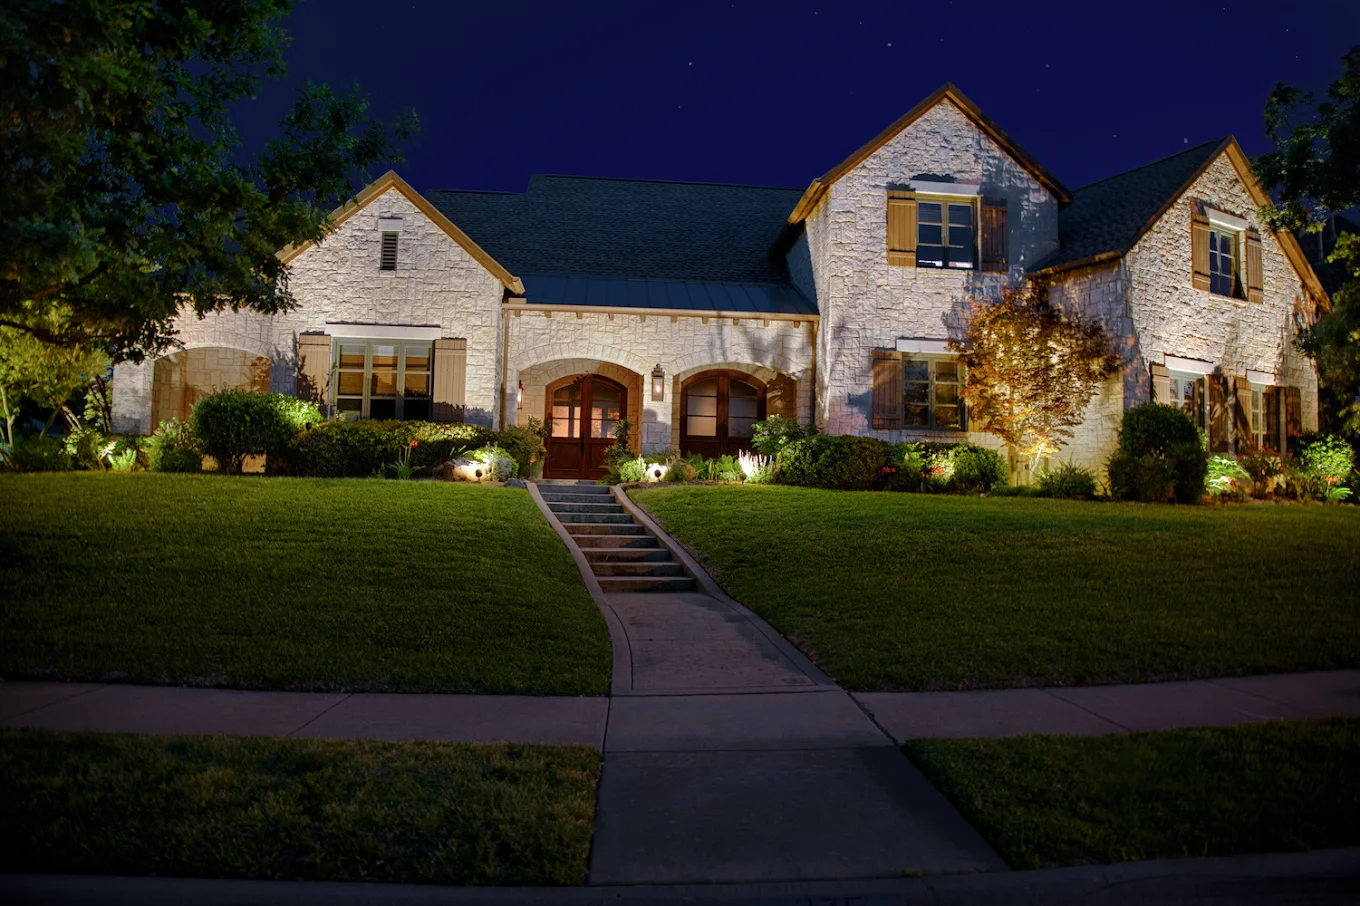
- Pathways prevent trips and define movement through your yard. Path lights spaced evenly along walkways serve safety and design at the same time.
Matching technique to location
Placement tells you where light needs to go. Technique tells you how to get it there. Here’s a breakdown of the most useful approaches:
Silhouetting
Places light behind an object to project its outline against a wall or fence. Works best with shrubs or sculptural plants in the foreground. The result is shadow-based and adds depth without direct illumination.
Accent lighting
Concentrates a beam on a specific feature: a flower bed, a specimen plant, or a piece of hardscape. These small pools of light create visual interest and direct the eye exactly where you want it.
Uplighting
Positions fixtures at ground level and aims them upward, defining trees, columns, and architectural details from below. One of the most common techniques in residential landscape lighting because it works on nearly any property.
Moonlighting
Puts fixtures high in mature trees and aims them downward, mimicking natural light filtering through the canopy. The effect is softer and more atmospheric than ground-level lighting. It’s also the hardest to execute well without experience.
Pool and fountain lighting
Uses waterproof fixtures submerged in or mounted around water features. The way light refracts underwater at night is completely different from how it reads during the day.
“One of the most common mistakes homeowners make when investing in outdoor lighting is choosing a company that lacks a Certified Lighting Designer and Product Specialist. The right design isn’t simply about adding fixtures — it’s about selecting the proper products, placement, beam spreads, and color temperatures to complement the property’s architecture. When those elements come together correctly, the result is the ‘million-dollar look’ homeowners are seeking.”
— Ethan Archer, Regional Manager, The Perfect Light
How The Perfect Light designs your system
Most exterior lighting projects that go wrong do so in the planning phase, not during installation. Here’s how we approach it:
- Establish the goal. We start by understanding what you want the space to do: security, aesthetics, or both, and which one leads. That determines the techniques, fixture types, and budget range before we look at a single product.
- Walk the property and identify focal points. This is where in-person experience matters. Focal points aren’t just the dark spots you already know about. They include sight lines from the street, features worth highlighting that you may not have considered, the mature tree that would take moonlighting beautifully, and the entry point that’s more exposed than it looks. Our team has been doing this for 25 years. We’ll spot things a first walkthrough misses.
- Match technique to each location. Once focal points are set, we assign the right technique to each one. A single property might use uplighting on the front columns, silhouetting on the backyard shrubbery, path lights along the walkway, and moonlighting in the oak tree by the back patio. Each zone gets the approach that serves it.
- Finalize the design and present it before anything goes in the ground. You see exactly what you’re getting: fixture types, placement, zones, power source, and spacing. Fixture spacing matters more than most homeowners expect. Fixtures placed too close create overlapping hot spots; too far apart and you get dark zones in between. Getting the spacing right is part of the design work, not an afterthought.
What to expect on installation day
Once the design is approved, installation is typically a one-day job for a standard residential property. Larger properties or those with multiple lighting zones may take two days.
Our in-house team (not subcontractors) handles everything: trenching and burying the wiring, mounting fixtures, connecting to the power source, and doing a full calibration pass at the end of the day. That last step is where the design proves itself. Fixture angles get dialed in, output levels are checked, and anything that doesn’t match the design gets corrected before we leave.
We also verify safe power connections at each location before we start. If a point on the design doesn’t have a clean power source nearby, we address it during installation rather than leaving it as an open item.
When the job is done, you’ll have a written record of what was installed, where it was run, and how the system is mapped. That documentation matters when you call us for maintenance later.
Ready to see what your home looks like lit up properly? Our in-house team will walk your property, put together a design, and answer every question before you commit to anything.
Frequently asked questions
What’s the difference between 12V and 120V exterior lighting systems?
12V (low voltage) is the standard for most residential landscape lighting. It’s safer to install, costs less to run, and handles the majority of aesthetic lighting needs. 120V (line voltage) is used for high-output fixtures like floodlights where more power is required. Most homes use a mix of both, depending on the application and location.
How much does exterior lighting design and installation cost?
A professionally designed and installed exterior lighting system from The Perfect Light typically starts at $2,000, with most complete residential projects running $4,000 to $6,000. The final number depends on property size, fixture count, and how many lighting zones the design includes.
How long does exterior lighting installation take?
Most residential installations are completed in one day. Larger properties or those with extensive hardscape, multiple water features, or several distinct lighting zones may take two. The design consultation happens before installation day, so there are no surprises on the schedule.
Can exterior lighting be added to an existing landscape?
Yes. We design and install lighting on established properties all the time. Wiring runs underground and can be routed around mature root systems without major disruption to existing plantings or hardscape.
What exterior lighting technique works best for security?
Floodlights with broad coverage work best for pure security: garages, perimeter areas, and entry points that need consistent, high-output illumination. For properties that want security and aesthetics together, we layer floodlights in the back with more refined accent and path lighting in the front.

Light up your nights